Safety Precautions
Always follow safety guidelines to ensure safe grilling. Never leave the grill unattended, keep children away, and use long utensils for cooking. Allow the grill to cool before cleaning or moving. Keep the grill at least 24 inches away from walls and flammable materials. Never use indoors or for commercial purposes.
- Ensure the grill is placed on a stable, heat-resistant surface.
- Disconnect the gas cylinder when not in use.
- Avoid moving the grill while it is hot or in operation.
- Regularly inspect hoses and connections for leaks or damage.
1.1 General Safety Tips
Prioritize safety when using your Char-Broil grill to ensure a secure and enjoyable grilling experience. Always read the manual thoroughly before operating the grill. Wear protective clothing, such as long sleeves and heat-resistant gloves, to avoid burns. Use long-handled utensils to maintain a safe distance from heat and flames. Never wear loose clothing that could catch fire. Keep a fire extinguisher or water source nearby in case of emergencies. Ensure the grill is placed on a stable, heat-resistant surface, away from flammable materials like curtains or trees. Avoid overloading the grill with food, as this can lead to grease spills and flare-ups. Keep children and pets at a safe distance while grilling. Regularly inspect the grill for damage or wear and tear to prevent potential hazards.
1.2 Handling Propane Safely
Proper handling of propane is crucial for safe grilling. Always inspect the propane cylinder and hose for leaks or damage before use. To check for leaks, apply a soap solution to the connections and watch for bubbles. If a leak is detected, turn off the supply and have it repaired before use. Store propane cylinders upright in a well-ventilated, cool, and dry area, away from direct sunlight or heat sources. Never store cylinders indoors or in confined spaces. When connecting the cylinder to the grill, ensure it is securely attached to prevent accidental disconnection. Avoid overfilling the propane tank, as this can lead to safety hazards. Always turn off the grill and let it cool before turning off the propane supply at the cylinder. Follow all local regulations for propane storage and disposal.
1.3 Emergency Procedures
In case of an emergency, act quickly and safely. If a gas leak occurs, immediately turn off the burner and propane supply. Do not attempt to reignite the grill until the area is well-ventilated. If flames blow out or the grill overheats, turn off all burners and let it cool before relighting. For grease fires, never use water; instead, close the grill lid to starve the fire of oxygen; Keep a fire extinguisher rated for grease and gas fires nearby. If the regulator or hose is damaged, turn off the propane supply and discontinue use until repairs are made. In case of severe burns or injuries, seek medical attention immediately. Always prioritize safety and follow proper shutdown procedures to prevent accidents. Regular maintenance can help prevent many emergency situations. Stay calm and follow these steps to ensure a safe outcome.
Assembly and Setup
Begin by unpacking and inventorying all components. Use the hardware and tools provided to assemble the grill step-by-step. Follow the manual for proper installation and setup.
2.1 Unpacking and Inventory
Begin by carefully unpacking all components from the box. Check for any damage or missing parts. Refer to the manual for a detailed list of included items.
- Organize hardware such as bolts, screws, and wrenches in a safe place.
- Verify the presence of the grill body, burners, grates, and shelves.
- Inspect the gas components, including hoses and regulators, for integrity.
- Ensure all tools required for assembly are available.
Report any discrepancies to customer service immediately. This step ensures a smooth assembly process and proper functionality of your Char-Broil grill.
2.2 Hardware and Tools Needed
To assemble your Char-Broil grill, gather the necessary hardware and tools beforehand. This ensures a smooth and efficient setup process.
- A socket wrench or adjustable wrench for securing bolts.
- A screwdriver (both Phillips and flathead) for various screws.
- Pliers for gripping small parts or tightening connections.
- A measuring tape for verifying proper alignment.
- Allen keys for specific grill components.
Ensure all hardware, such as bolts, screws, and washers, is accounted for. Refer to the manual for specific tool recommendations. Having the right tools on hand will prevent delays and ensure a secure assembly. Proper preparation leads to a safer and more functional grill setup.
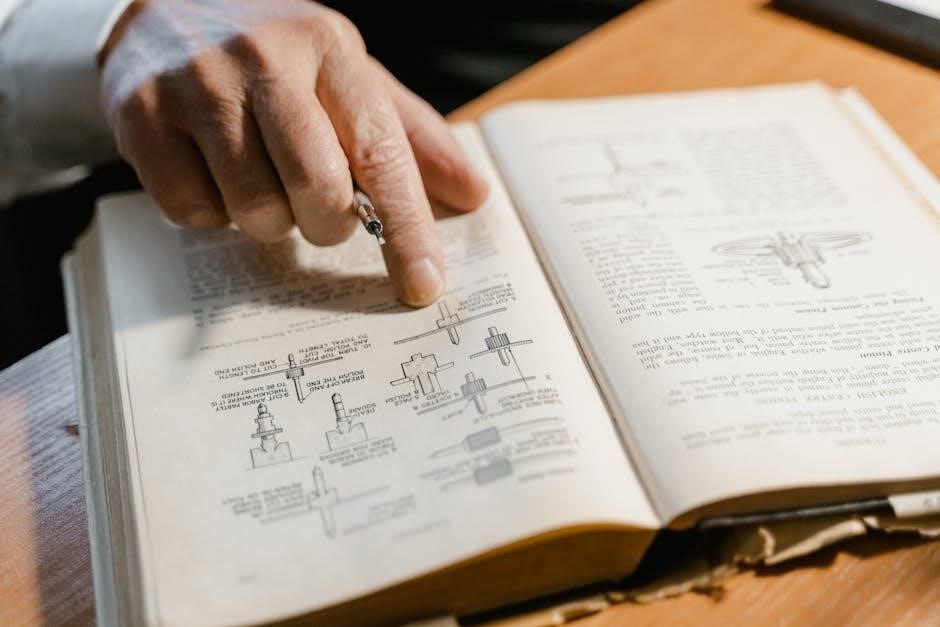
2.3 Step-by-Step Assembly Guide
Begin by unpacking and organizing all components. Attach the legs to the grill base using the provided bolts. Next, secure the burners and heat deflectors to the firebox. Install the cooking grates, ensuring they are properly aligned. Connect the gas lines to the burners, making sure all connections are tight. Attach the propane tank to the regulator and test for leaks using soapy water. Finally, assemble the shelves and side burner (if applicable). Double-check all bolts and connections for stability. Once assembled, perform a test run by lighting the burners to ensure proper function. Refer to the manual for detailed diagrams and specific instructions for your model.
Initial Setup and Maintenance
Before first use, season the grates and burners. Clean the grill regularly to prevent grease buildup. Store the grill in a dry, protected area during off-seasons.
- Ensure all parts are securely tightened after assembly.
- Check and clean the grease tray frequently.
- Inspect gas lines and connections for damage or leaks.
3.1 Preparing for First Use
Before using your Char-Broil grill for the first time, ensure all parts are unpacked and accounted for. Follow the assembly instructions carefully to avoid missing any components.
Once assembled, perform a safety check. Inspect the gas lines and connections for leaks using a mixture of soap and water. Bubbles forming indicate a leak, which must be addressed before use.
Season the grates by applying a thin layer of cooking oil with a high smoke point, such as vegetable oil. Preheat the grill on high for 30 minutes to allow the oil to set and create a non-stick surface.
Position the grease tray correctly to catch drips and facilitate easy cleaning. Place the grill on a stable, heat-resistant surface, away from flammable materials.
Operate the grill on the highest setting for the first use to burn off any manufacturing residues. Check all burners to ensure they light properly and adjust as necessary.
Refer to the manual for detailed instructions and troubleshooting. A well-prepared grill ensures optimal performance and longevity. Complete these steps to ready your Char-Broil grill for its first cooking session.
3.2 Regular Cleaning and Maintenance
Regular cleaning and maintenance are essential for optimal performance and longevity of your Char-Broil grill. After each use, brush grates with a wire brush to remove food residue and wipe them clean with a paper towel. Empty the grease tray after every use to prevent buildup and reduce flare-ups.
Clean drip pans and burner caps with mild soap and water, ensuring they are free of debris. For tougher stains, avoid using abrasive cleaners that could damage the grill’s finish. Perform a deep clean weekly, including the interior, to remove grease and food particles.
Inspect gas lines and connections annually for wear or leaks. Replace worn-out parts promptly to maintain safety and efficiency. By following these maintenance steps, your grill will remain in top condition and provide consistent cooking results. Regular upkeep ensures a clean, safe, and reliable grilling experience.
3.3 Troubleshooting Common Issues
If your Char-Broil grill isn’t performing as expected, troubleshoot common issues to restore functionality. Low flame or uneven heat may indicate a blocked burner or improper gas flow. Turn off the grill, wait 30 seconds, and relight to resolve. If the igniter isn’t working, check the battery or clean corrosion from the ignition electrodes.
Grease buildup can cause flare-ups and smoky conditions. Regularly clean the grease tray and drip pans to prevent this. For rust spots, sand the area and apply a heat-resistant coating. If the grill isn’t heating properly, ensure the gas tank is full and connections are secure. Consult the manual for specific troubleshooting steps tailored to your model. Addressing issues promptly ensures safe and efficient grilling.
Cooking Guides and Advanced Features
Explore advanced grilling techniques and features to enhance your cooking experience. Utilize dual-fuel options, temperature control, and smart technology for precise cooking. Achieve perfect sears and even heat distribution with adjustable burners.
- Use the side burner for sauces or side dishes.
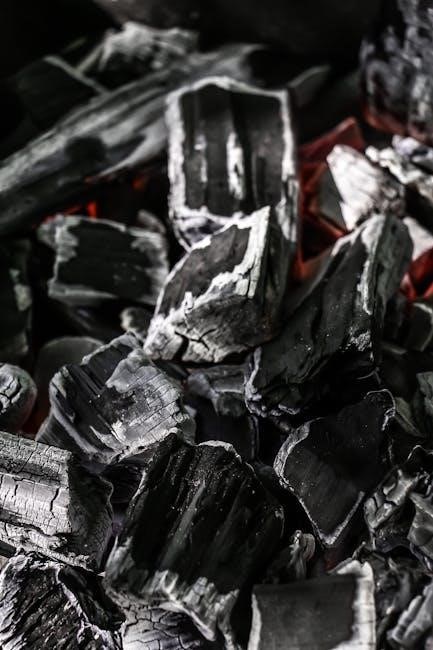
- Enable smoke flavor with the charcoal conversion option.
- Monitor cooking progress via the digital display.
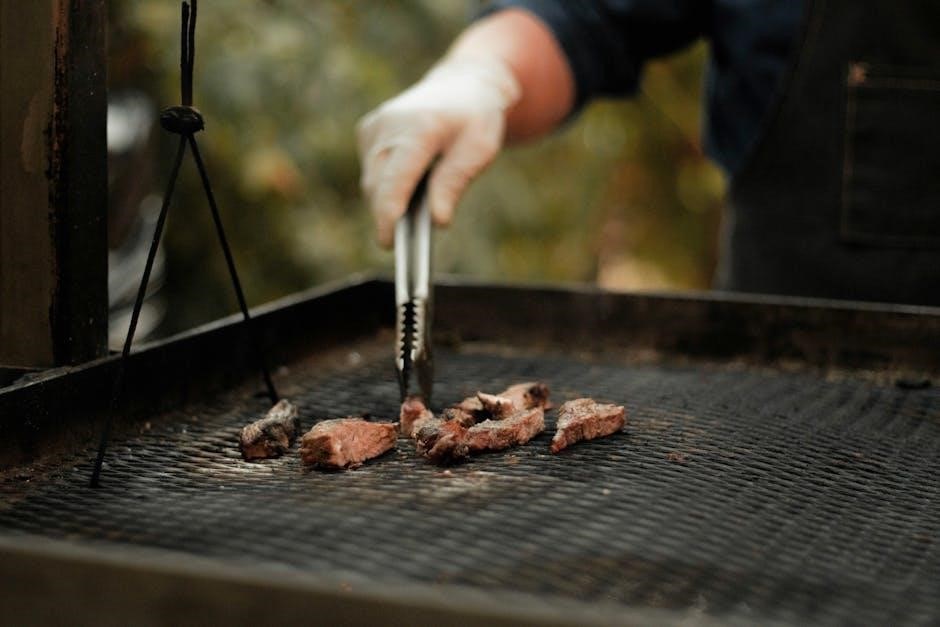
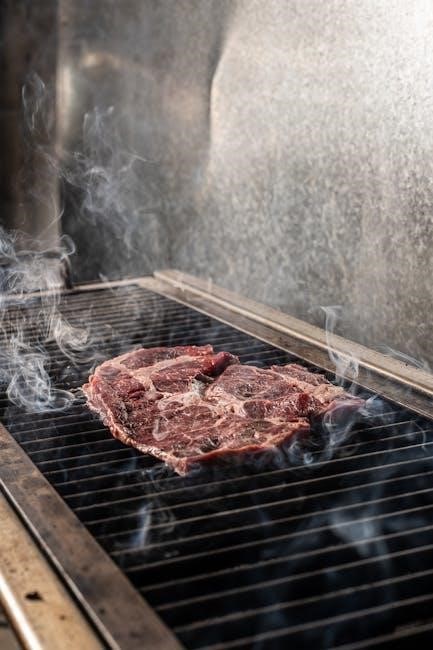
4.1 Grilling Techniques and Guidelines

Master the art of grilling with Char-Broil by following essential techniques. Preheat the grill 10-15 minutes before cooking for consistent heat. Use the side burner for sauces or vegetables while grilling meats. For even cooking, ensure food is at room temperature and pat dry before grilling. Optimize flavor by marinating meats and vegetables beforehand. Utilize the grill’s dual-fuel capability to switch between gas and charcoal for smoky or quick cooking. Achieve perfect sears by cooking at high heat initially, then finish at lower temperatures. Grill burgers 4-5 minutes per side for medium-well and steaks 5-7 minutes per side for medium-rare. Don’t press down on meats to avoid losing juices. Let cooked food rest 5 minutes before serving. Experiment with wood chips in the charcoal tray for added smoke flavor. Always use grill-safe utensils and keep a spray bottle handy for managing flare-ups.
4.2 Using Advanced Features
Maximize your grilling experience with Char-Broil’s advanced features. Utilize the side burner for simmering sauces or cooking sides while grilling. For even cooking, employ the rotisserie kit, ensuring meat rotates evenly for consistent results. Take advantage of the grease tray to collect excess grease, reducing flare-ups and simplifying cleanup. If your model includes smart technology, connect to your grill via an app to monitor temperatures and adjust settings remotely. Some grills feature a 2-in-1 design, allowing you to switch between gas and charcoal for customizable flavor. Experiment with wood chips in the charcoal tray for a smoky taste. Always refer to your manual for specific instructions on activating and using these features effectively.